Soak the stone, hold 15–20°, sweep evenly, raise burr, refine, strop.
I ruined a perfectly good knife once because I had no idea what I was doing. Wrong angle, wrong pressure, wrong everything. Linda watched me drag it across the stone and said nothing. Just quietly handed me a new one from the drawer. That was the moment I decided to actually learn how to sharpen a kitchen knife with a whetstone properly. And honestly it was easier than I expected once someone broke it down simply.
Now it is one of those skills I use everywhere. At home, in rental kitchens on the road, even at a friend’s place when the knives are so dull they can barely cut bread.
A sharp knife makes cooking faster, safer, and just more enjoyable. In this guide I will show you How To Sharpen Kitchen Knife With Whetstone- the whole process step by step — angles, grit, pressure, and how to know when you are done.

Why sharpen with a whetstone
A whetstone gives you the most control. You remove only what you need and shape the edge you want. You can fix chips, reset angles, and get a sharper, longer-lasting edge than with gadgets.
Other tools can be fast, but they trade steel for speed. Pull-through sharpeners often chew the edge. Rods hone but do not sharpen. A whetstone does both well.
Sharpening on stone also teaches feel. You learn how steel moves. This skill pays you back for years.
:max_bytes(150000):strip_icc()/__opt__aboutcom__coeus__resources__content_migration__serious_eats__seriouseats.com__2010__04__20200220-knife-sharpening-whetstone-vicky-wasik-5c825782502c4a429c08d0039d1df051.jpg)
Tools and materials you need
You do not need a lot. You do need the right setup.
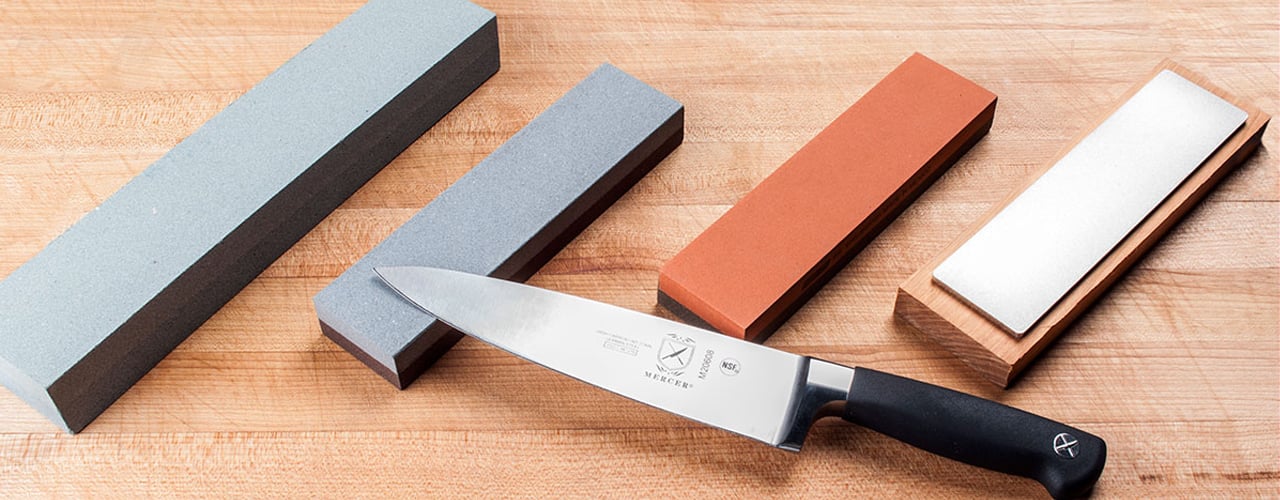
- Whetstone grits. Coarse 220–400 for chips. Medium 800–1000 for dull edges. Fine 3000–6000 for polish. Ultra-fine 8000+ for show edges.
- Water bath. A bowl or sink for soaking water stones.
- Stable base. A damp towel, stone holder, or rubber mat to stop slip.
- Angle guide or coins. Two stacked coins set about 15–20° on many chef’s knives.
- Marker pen. Color the edge to see your contact on the stone.
- Towel and spray bottle. Keep the stone wet and the bench clean.
- Flattening plate or sandpaper on glass. Keep the stone flat. Flat stones make flat bevels.
If you prefer oil stones, use honing oil, not water. Match the stone type to the maker’s guide.
Understanding grits and angles
Grit is how rough the stone is. Coarse grits cut fast and leave a scratchy edge. Fine grits cut slow and leave a smooth edge. Use the lowest grit you need to raise a burr fast. Then move up to refine.
Angle controls sharpness and strength. Lower angles cut with less force. Higher angles last longer on tough work. Most Western chef’s knives do well at 15–20°. Many Japanese knives run 12–15°.
You can use the marker trick. Color the bevel. Take a few light strokes. If the ink stays at the very edge, your angle is too high. If ink stays near the shoulder, your angle is too low.
What grit whetstone do I need?
For most home work, start at 1000 and finish at 3000–6000. If the knife is very dull or has chips, begin at 400–800. If the edge is fine but tired, a 3000 touch-up is enough.
What angle should I sharpen at?
Use 15–20° per side for a chef’s knife. Go lower only if the steel is hard and you cut soft foods. Go higher if you cut bone or hard squash often.

Step-by-step: how to sharpen kitchen knife with whetstone
Follow this simple flow. Keep strokes slow and even. Count your passes.
- Soak or prep the stone
- Soak water stones 10–15 minutes, or until bubbles stop. Splash-and-go stones need only a quick rinse. Oil stones need a thin oil film.
- Secure your setup
- Place the stone on a nonslip base. Set up good light. Stand square and relax your grip.
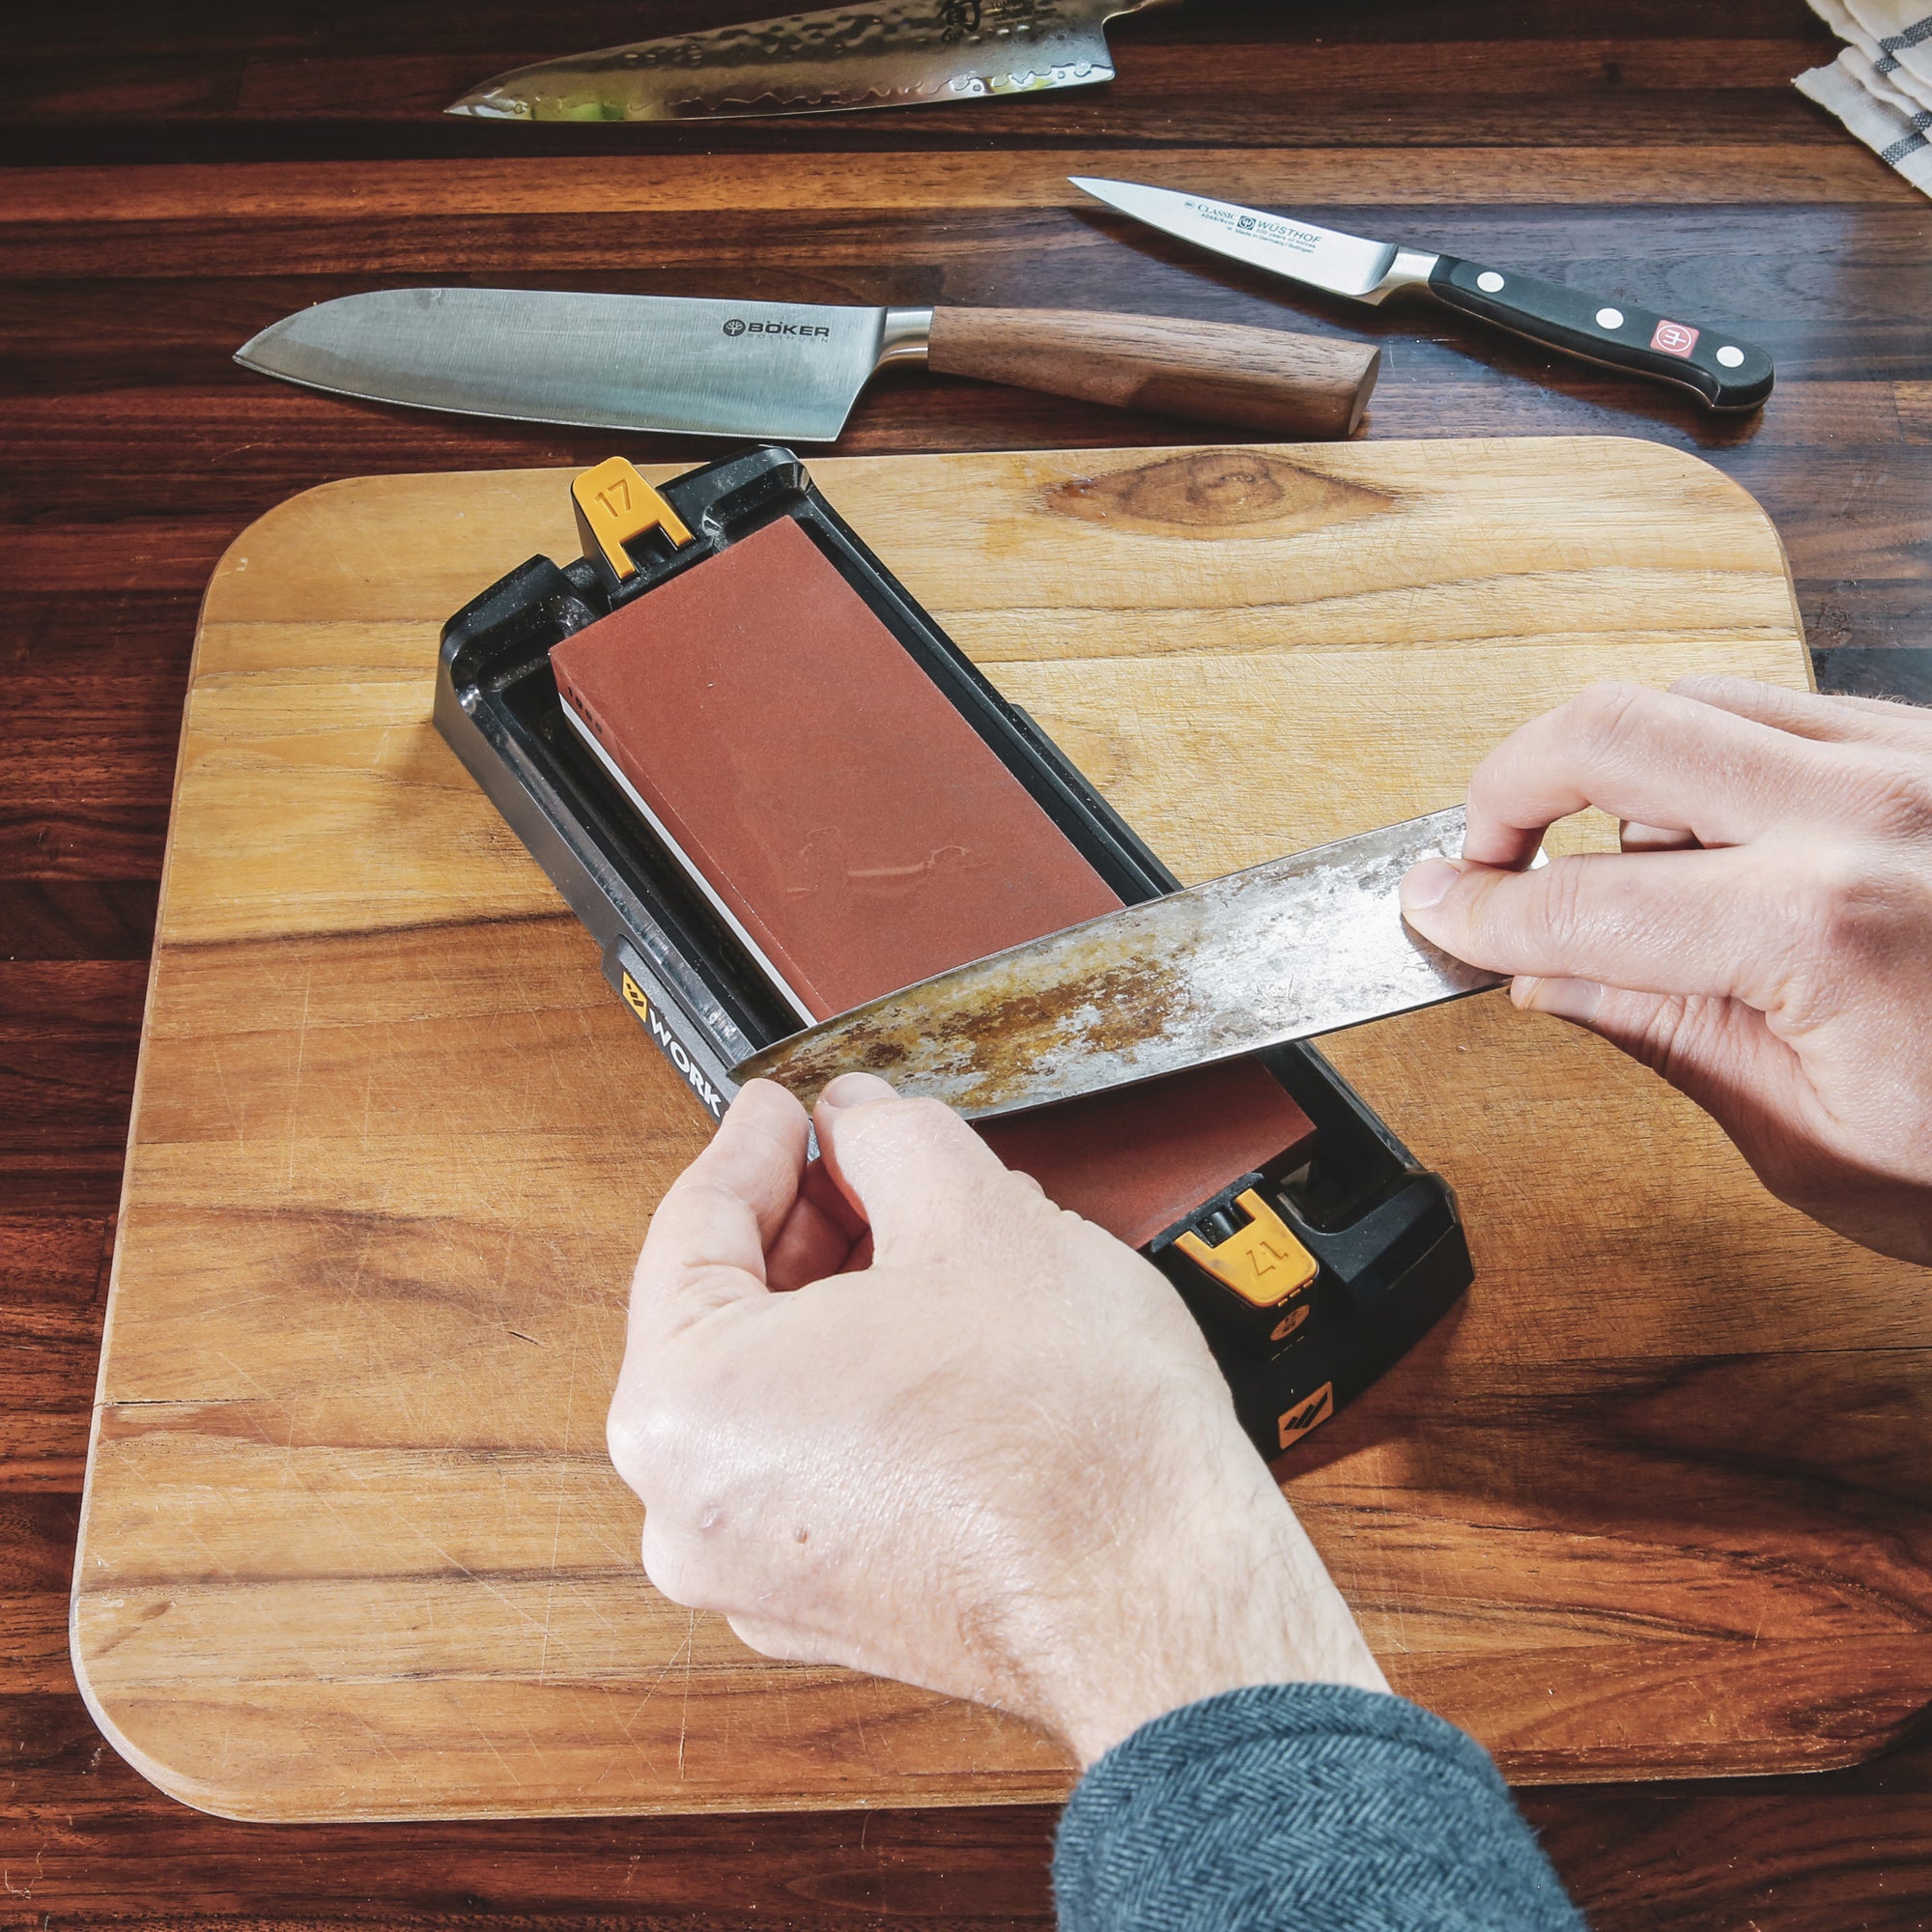
- Set your angle
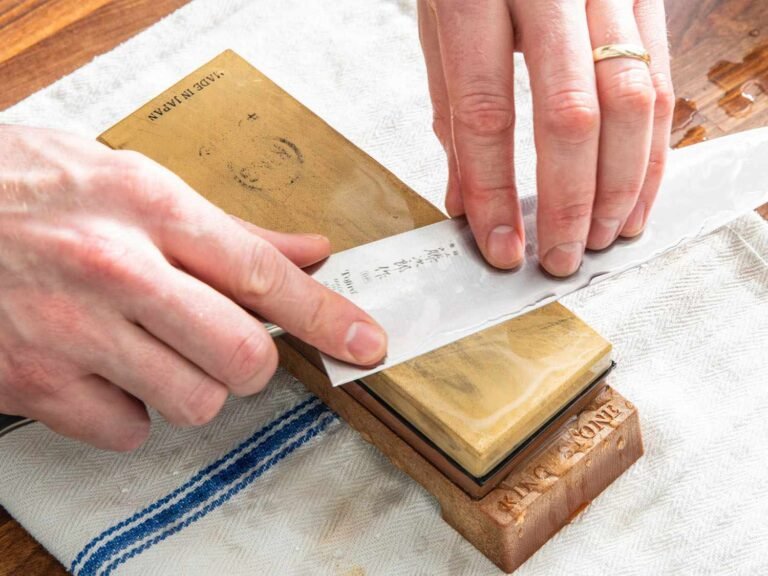
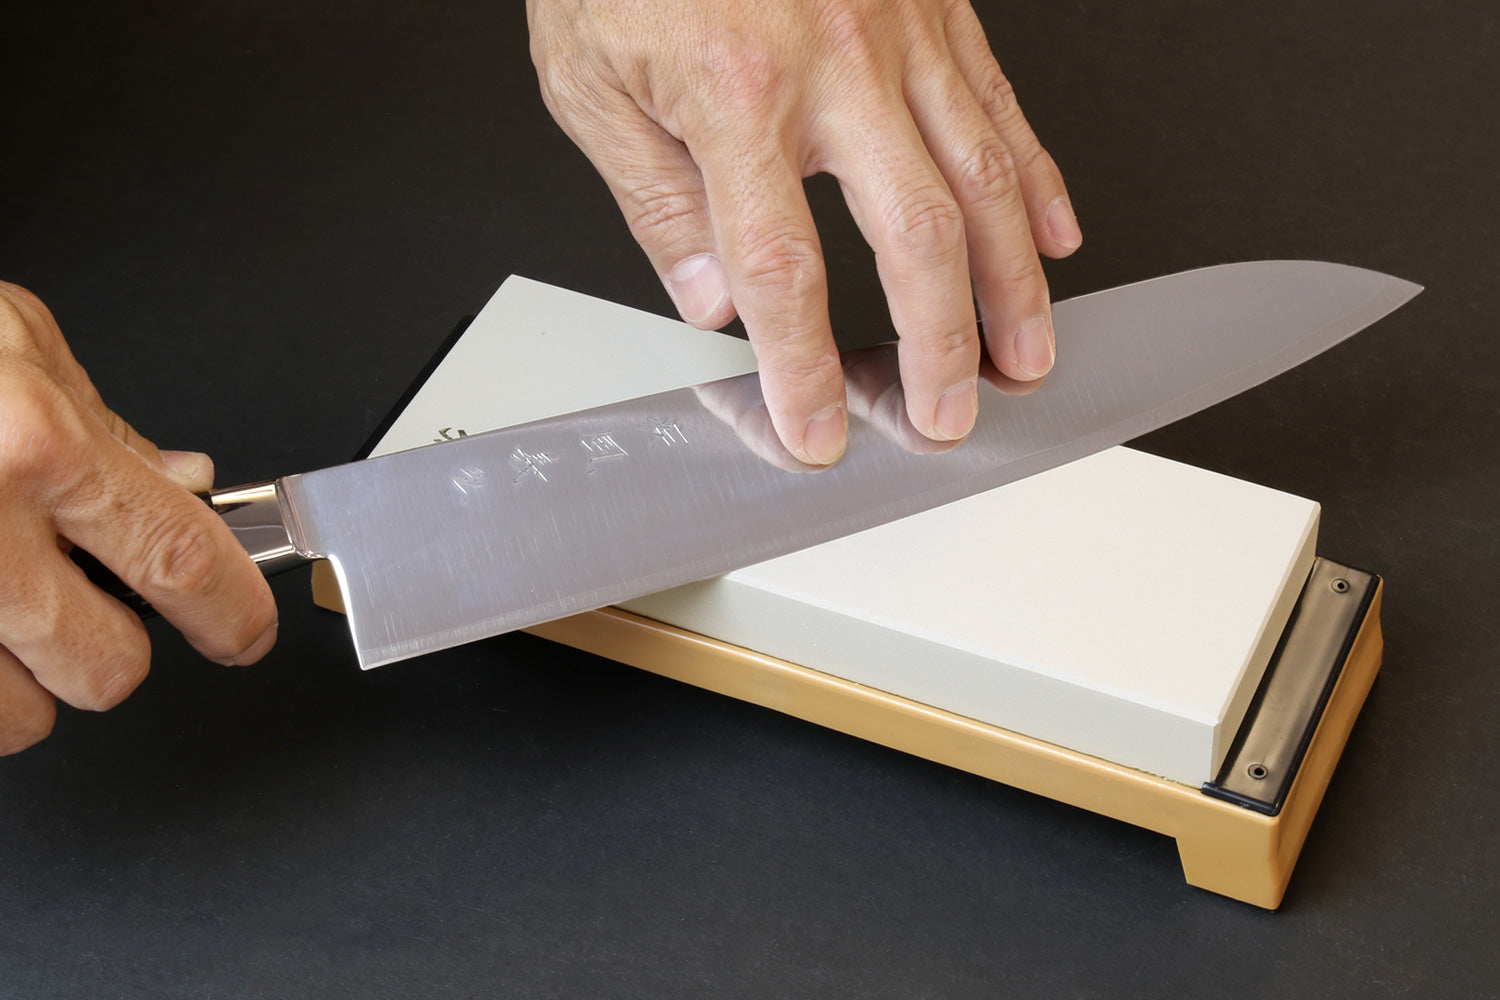
- Hold 15–20°. Use two coins under the spine as a quick guide. Color the edge with marker to confirm contact.
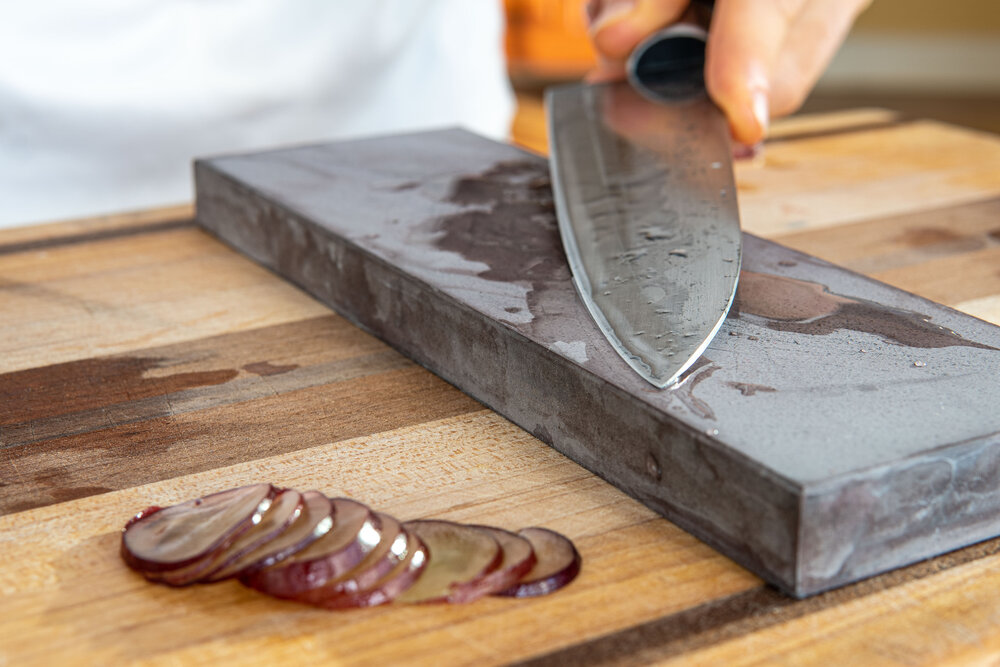
- Sharpen the first side
- Start on 800–1000 grit for a dull edge. Sweep from heel to tip. Use edge-leading strokes, like you are trying to slice a thin layer from the stone. Keep the angle steady. Use light to moderate pressure.
- Raise a burr
- Check for a tiny burr along the full length. Feel it by brushing a finger from spine to edge, never along the edge. No burr? Keep going. Burr means you reached the apex.
- Flip and repeat
- Work the other side. Match the angle. Raise a burr back to the first side.
- Refine on a higher grit
- Move to 3000–6000. Use lighter strokes. Aim to shrink the burr. Do 5–10 gentle passes per side.
- Deburr and align
- Do 3–5 very light alternating strokes per side. Then do a few edge-trailing swipes. Strop on leather, newsprint, or bare cardboard to clean the last wire.
- Clean and dry
- Rinse the blade and stone. Wipe dry at once. Store stones flat. Let water stones dry fully before you put them away.
- Test the edge
- Try paper, tomato, or arm hair (if safe to do so). The cut should start on a light touch with no snag.
This is the core of how to sharpen kitchen knife with whetstone. With practice, it takes under 10 minutes.
How to check sharpness and progress
Edge tests tell you what to do next. Use safe, simple checks.
- Paper test. Slice printer paper. A sharp knife will catch and glide with no tear.
- Tomato test. The skin should pop on the first touch. No force needed.
- Thumbnail test. Gently set the edge on a wet nail at 45°. It should bite and not skate. Do this with care.
You can also listen. A rough edge makes a scratchy sound on paper. A refined edge sounds smooth. This helps guide how to sharpen kitchen knife with whetstone as you refine.
Common problems and how to fix them
These issues are normal. Here is how to solve them fast.
- No burr after many strokes. Drop to a coarser grit. Your starting grit is too fine for the dull edge.
- Wire edge keeps folding. Use lighter pressure. Finish with very light alternating strokes, then strop.
- Tip is not sharp. Slow down near the tip. Lift the handle slightly so the curve stays on the stone.
- Edge feels sharp but dies fast. Your angle is too low, or you stopped at a coarse grit. Raise to 18–20° or add a higher grit.
- Uneven bevels. You are pressing harder on one side. Count strokes and mark the edge to track contact.
Fixing these helps you master how to sharpen kitchen knife with whetstone with less guesswork.
Care and maintenance: knives and stones
Sharp now means safe later if you care for both the blade and the stone.
- Between sharpenings, use a smooth hone to realign. A ceramic rod works well. A steel rod moves metal but does not remove much.
- Flatten stones often. Use a lapping plate or wet-dry paper (320–600 grit) on glass. Draw a pencil grid on the stone. Lap until the grid is gone.
- Dry knives at once after use. Store on a magnetic strip or in a block. Avoid drawers or glass boards.
- Time your touch-ups. Light home cooks can sharpen each 2–3 months. Pros may need weekly work. Quick touch-ups take less steel than full resets.
Steady care keeps how to sharpen kitchen knife with whetstone fast and easy over time.
Safety and setup tips
Good safety is simple. Set the scene right.
- Keep the stone wet so the blade glides, not jumps.
- Always move the edge away from fingers on edge-leading strokes.
- Use slow, even moves. Speed comes last.
- Clear the bench. No clutter near your hand path.
- If a slip happens, stop and reset. Do not chase the stroke.
Safe habits make how to sharpen kitchen knife with whetstone stress-free and calm.
Pro tips from the line
I learned how to sharpen kitchen knife with whetstone on a crowded line. On a Friday rush, I reset ten knives in twenty minutes with a 1000/3000 combo. Counting strokes and chasing the burr saved me.
Here is what I pass on to cooks:
- Count strokes. Start with 10 per side on the first grit, then 6–4–2 on finer grits.
- Use half the pressure you think you need. Let the stone cut.
- Work in sections for long blades. Heel, mid, tip. Blend your strokes.
- Finish with a light micro-bevel. Two passes at a degree higher locks the edge in.
These small things turn how to sharpen kitchen knife with whetstone into a repeatable craft.
When to use other tools or call a pro
Stones handle most jobs. Some cases call for other tools.
- Big chips or bent tips. Start with a coarse 120–220 or use a diamond plate to save time.
- Very hard powder steels. Diamonds can be faster and more uniform.
- Serrated knives. Use a tapered rod per serration, not a flat stone.
- Warped blades. Seek a pro. They can true the edge and keep the temper safe.
Know these limits as you plan how to sharpen kitchen knife with whetstone for each blade.
Frequently Asked Questions of how to sharpen kitchen knife with whetstone
How long should I soak a water stone?
Most water stones need 10–15 minutes, or until bubbles stop. Splash-and-go stones need only a light rinse; do not soak them.
Should I push or pull the knife on the stone?
Use edge-leading strokes for fast burrs and clean apex. You can add a few edge-trailing strokes at the end to help deburr.
How often should I sharpen if I hone weekly?
For home use, sharpen every 2–3 months. If you cook daily or prep hard foods, plan a light touch-up each month.
Can I sharpen Damascus or high-end Japanese knives on a whetstone?
Yes. Use 1000–3000 for the core steel, and keep angles low at 12–15°. Finish light to avoid a big burr.
Why does my knife feel sharp but struggles on tomatoes?
You likely have a burr or coarse scratches catching the skin. Refine on 3000–6000 grit and deburr with light alternating strokes, then strop.
Conclusion
A sharp knife is no mystery. Use the right grit, set a steady 15–20° angle, raise a burr, refine, and deburr. With practice, how to sharpen kitchen knife with whetstone becomes fast, calm, and reliable.
Pick one knife today and run this process end to end. Time it, take notes, and adjust next time. Want more hands-on tips? Subscribe for new sharpening guides, ask a question in the comments, and share your before-and-after edge tests.