Set a 15–20° angle on a soaked stone, alternate strokes, raise a burr, refine.
I carry a small whetstone in my travel bag. Linda thinks it is the strangest thing to pack. But after years on the road cooking in rental kitchens and holiday homes, I learned one thing fast — a dull knife ruins a good meal. Nobody talks about knives until they are struggling to cut a tomato with something that feels like a butter knife.
Learning how to sharpen a kitchen knife with a stone was one of the best skills I ever picked up. It sounds intimidating at first. A stone, the right angle, a steady hand. But once you do it a few times it becomes second nature — quick, satisfying, and genuinely useful anywhere in the world.
So let’s get into it. Step by step, plain and simple.
:max_bytes(150000):strip_icc()/faw-product-king-whetstone-starter-set-1000-6000-nsimpson-4110-c9eb3efbdbed469693a44e3baedb3d2f.jpeg)
Sharpening with a Stone: What It Really Does
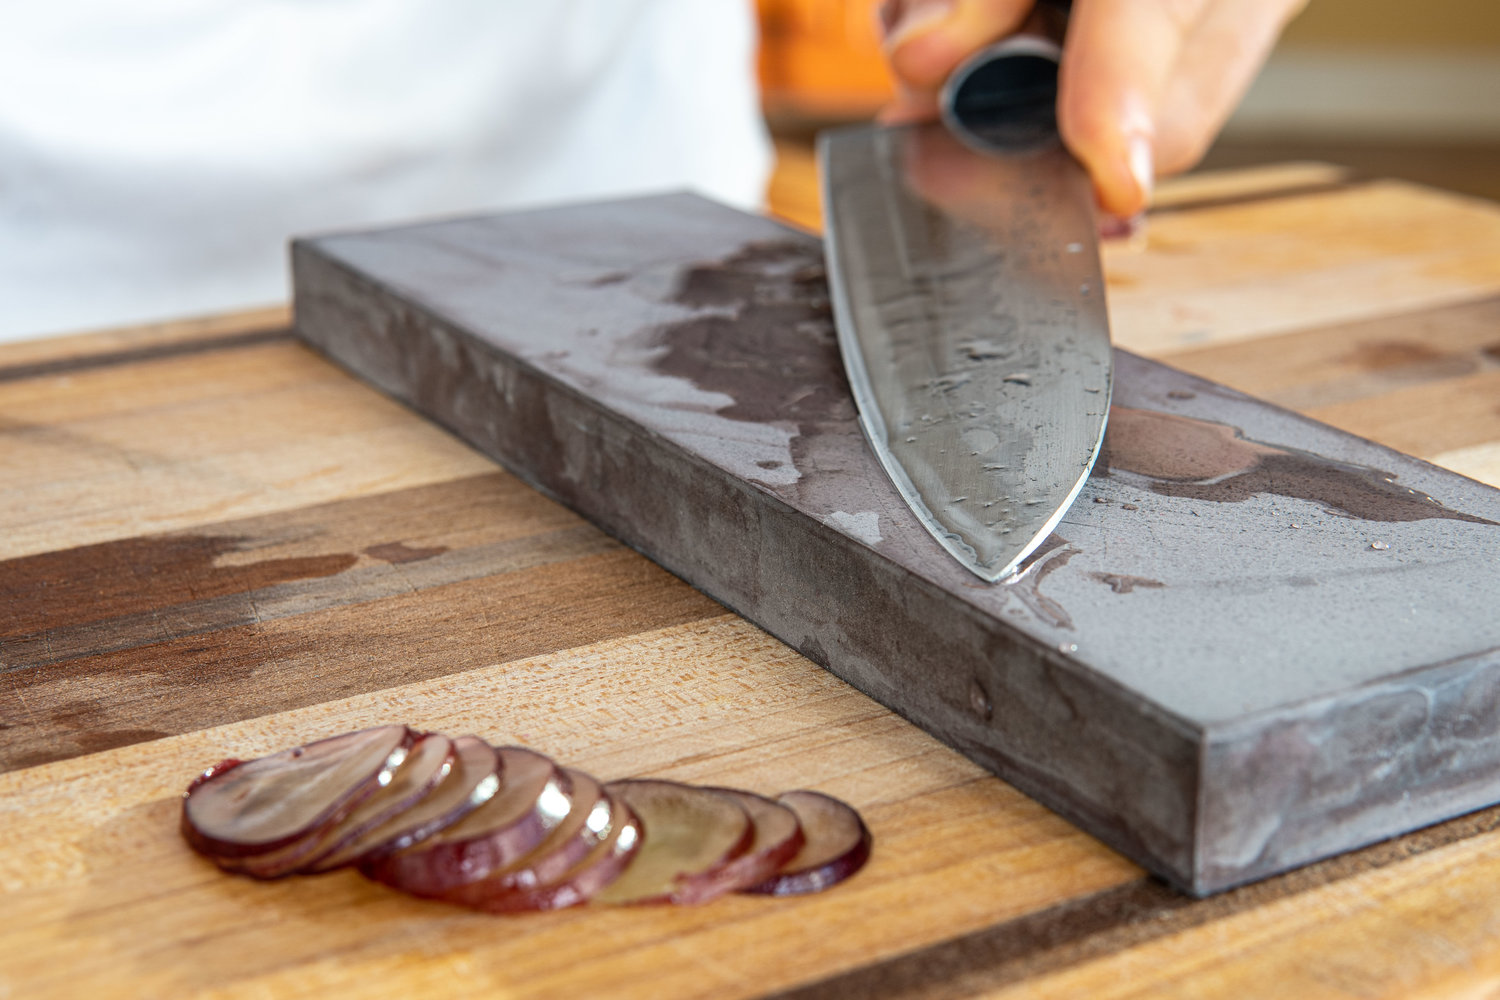
Sharpening removes metal to form two clean planes that meet in a fine edge. The stone’s grit controls how fast you cut and how smooth the edge feels. Coarse grits fix damage. Medium grits create the working edge. Fine grits polish and boost push-cut power.
Key terms you will see as you learn how to sharpen a kitchen knife with a stone:
- Bevel. The sloped surface from the spine to the edge.
- Angle. The tilt between the blade face and the stone, often 15–20 degrees.
- Burr. A tiny wire edge you raise on the far side as proof you reached the apex.
- Grit. The roughness rating of the stone, like 400, 1000, 3000, or 8000.
Why choose stones:
- Control. You can set the exact angle and finish.
- Steel life. Stones cut cool and remove less metal than grinders.
- Versatility. Works on most kitchen steels and blade shapes.
Limits to know:
- Time and skill. The first few sessions feel slow.
- Stone care. Stones need to stay flat and clean.
- Not for all knives. Serrated and very hard exotic steels may need special tools.
When you follow the steps below on how to sharpen a kitchen knife with a stone, you get a keen, safe, and durable edge.
Tools and Setup You Need
The right kit makes your work smooth and safe. For how to sharpen a kitchen knife with a stone, gather:
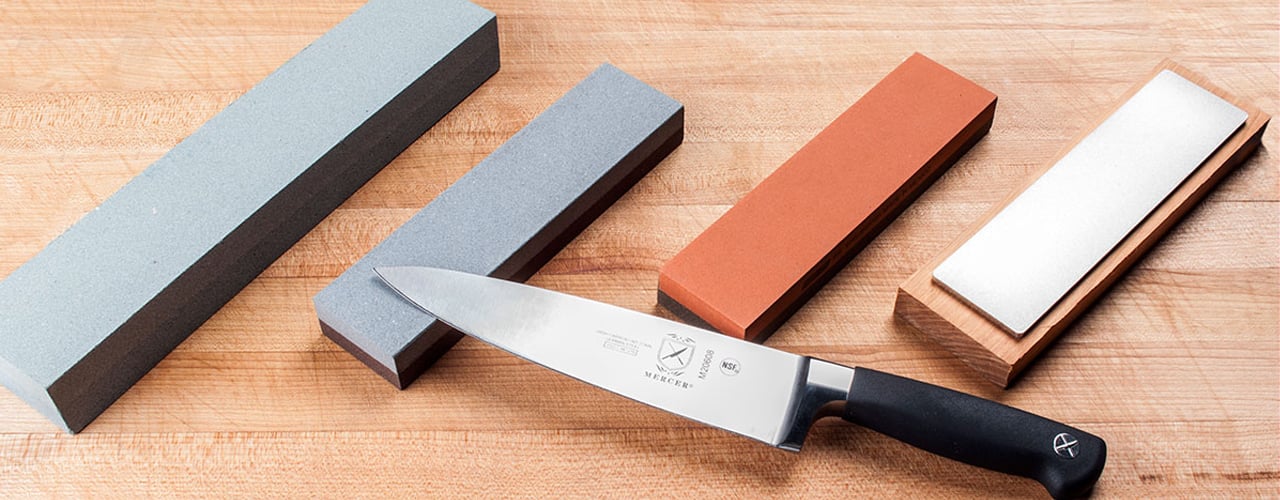
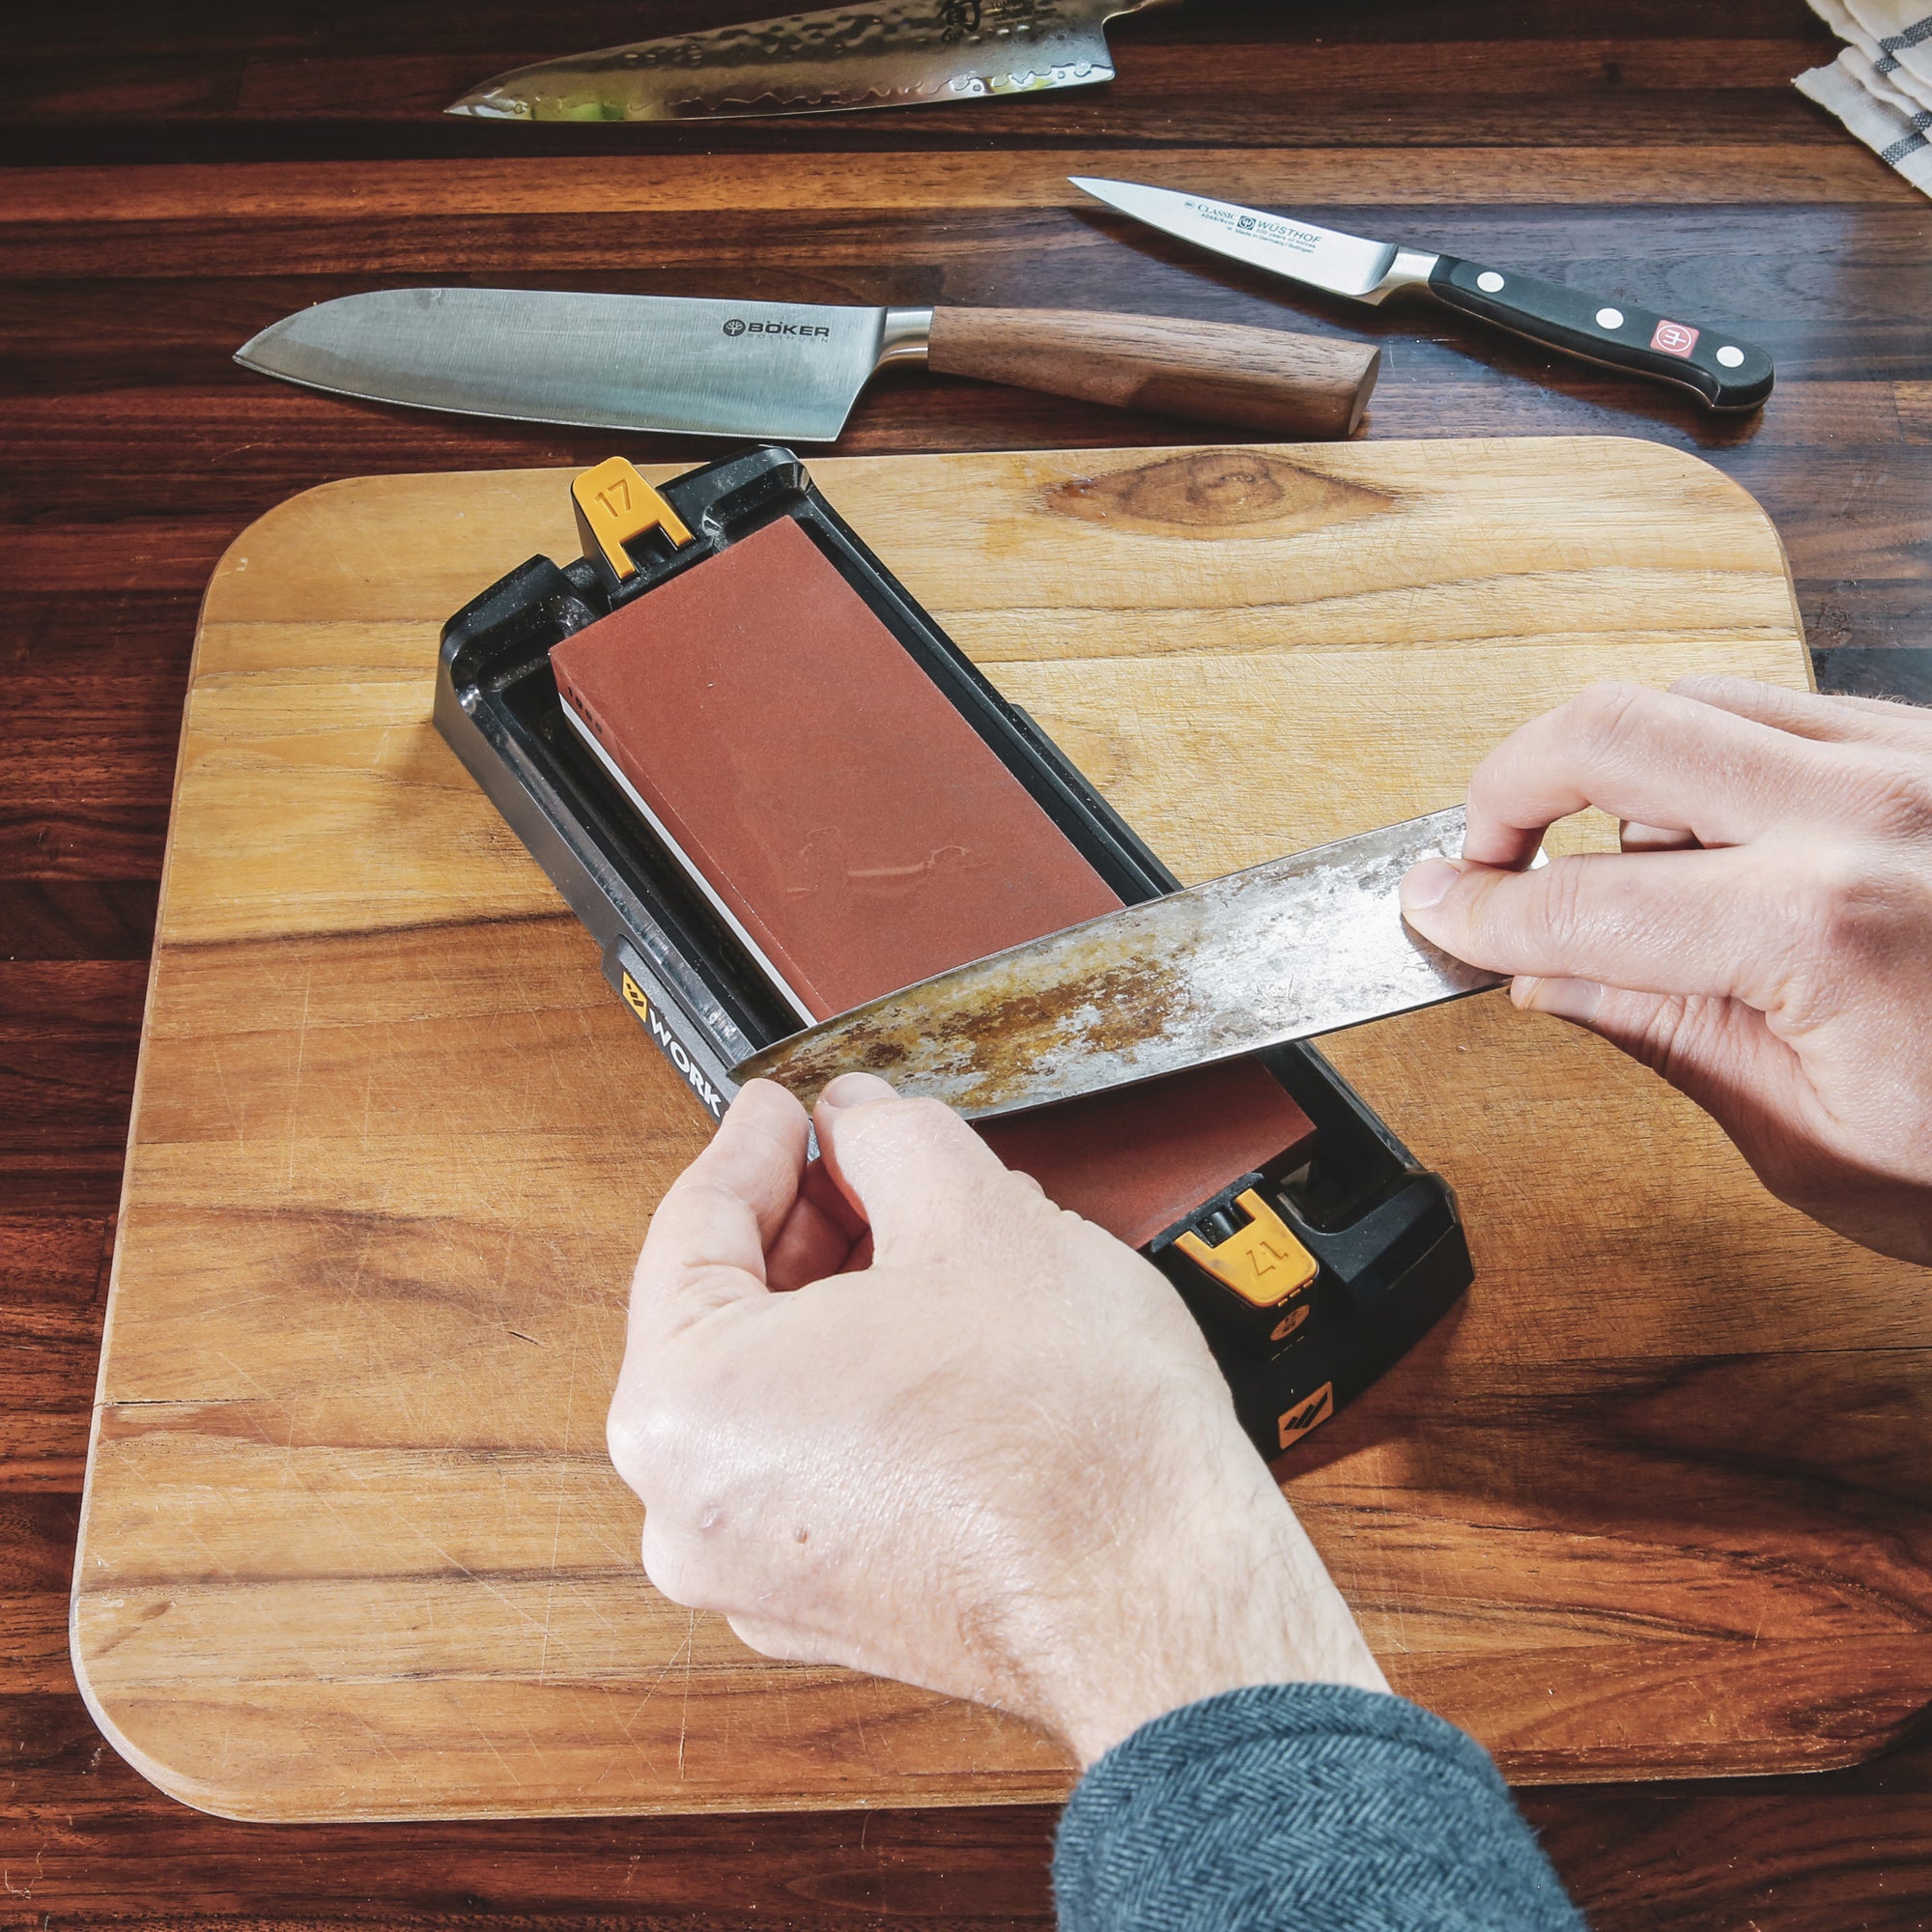
- Whetstones. One coarse (300–600), one medium (800–1200), one fine (3000–8000).
- Water or oil. Use what your stone maker states. Most home stones are water stones.
- Stone holder. A rubber base or a damp towel to stop slip.
- Angle guide. A clip-on guide or a folded postcard as a spacer at the spine.
- Marker. A black marker to color the bevel and confirm angle.
- Flattening plate. A lapping plate or coarse sandpaper on glass to keep stones flat.
- Towel and spray bottle. Keep the surface wet and the bench clean.
If you are building a starter set for how to sharpen a kitchen knife with a stone, pick a 400/1000 combo and a 3000/8000 combo. That covers repair, sharpening, and polish with two blocks.
Safety and Prep
Set your space before you start how to sharpen a kitchen knife with a stone.
- Clear the bench. No clutter near the blade path.
- Secure the stone. Use a holder or a damp towel on a stable board.
- Soak water stones. Most need 10–15 minutes. Splash-and-go stones only need a wet top.
- Dry your hands. Good grip matters more than any tool.
- Inspect the knife. Look for chips, bends, or bolsters that hit the stone.
A clean, stable setup lowers risk and gives a better edge.
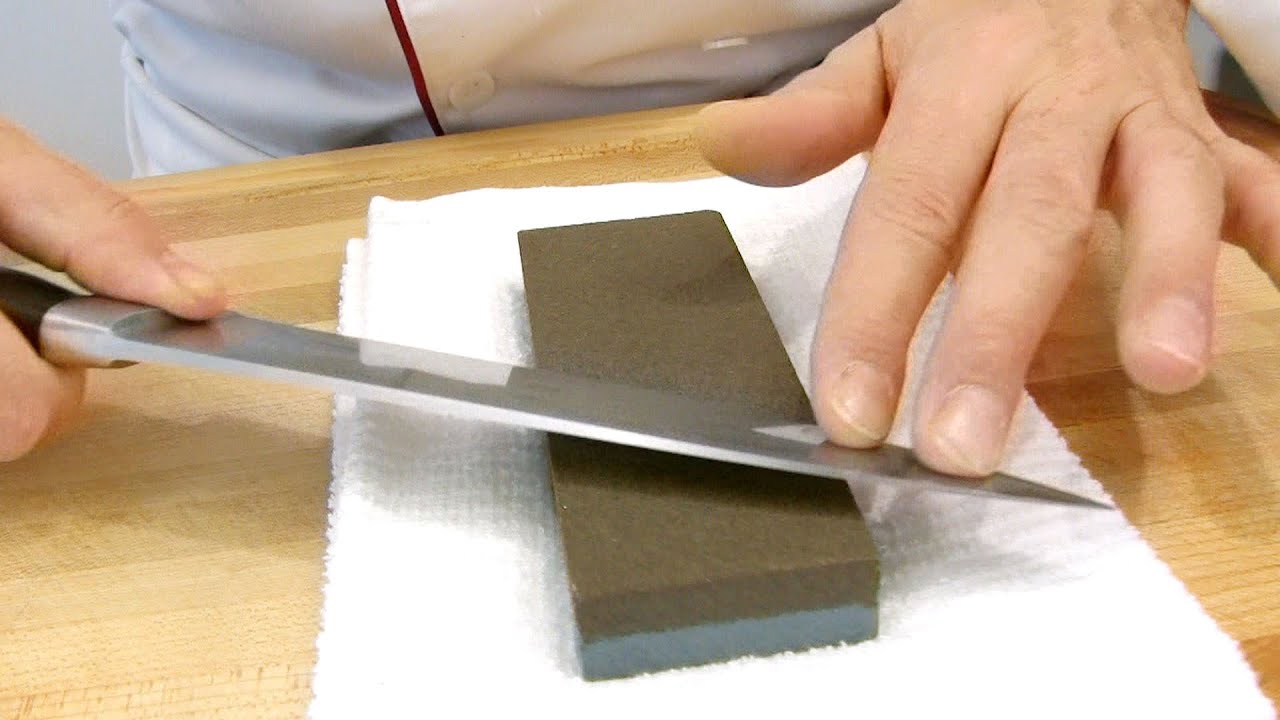
Step-by-Step: How to Sharpen a Kitchen Knife with a Stone
Follow this method each time. Keep your strokes smooth and your angle steady.
- Choose your starting grit
- Use 300–600 if the knife is dull, chipped, or the edge is rolled.
- Use 800–1200 if it still cuts but needs bite.
- Use 3000–8000 only after you raise a burr on a lower grit.
- Set the angle
- Aim for 15–20 degrees for most Western and Japanese kitchen knives.
- Rest the knife on the stone. Lift the spine a coin or two high as a guide.
- Color the bevel with a marker. A few light strokes show if you are on target.
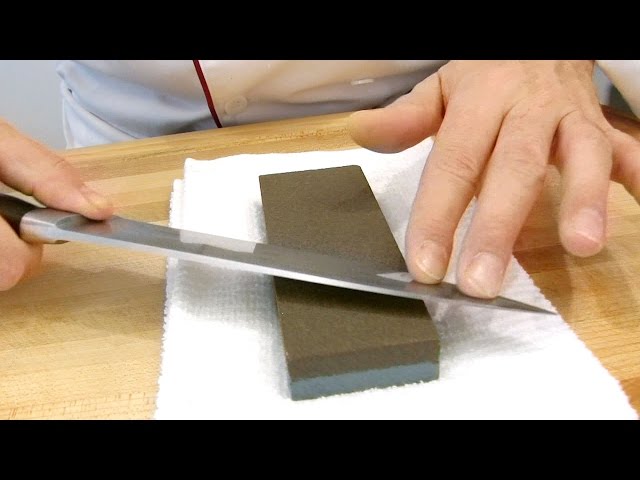
- Grind the first side
- Place the heel near you. Edge faces right if you are right-handed.
- Push the blade up and away as if slicing a thin layer from the stone.
- Keep even pressure with your fingers over the part that meets the stone.
- Use full-length strokes. Work from heel to tip. Lift the handle a bit at the tip.
- Count 10–20 strokes, light to moderate pressure. Keep the angle steady.
- Check for a burr
- Feel along the far side with your fingertip sweeping off the edge. Move slowly.
- A tiny wire lip means you reached the apex across the full length.
- Switch sides
- Flip the knife. Repeat the same number of strokes.
- Raise a burr back to the first side.
- Alternate and refine
- Do 5 strokes per side. Then 3 per side. Then 1 per side.
- Ease pressure as you go. Lighter pressure gives a cleaner apex.
- Move up in grit
- Repeat steps 3–6 on your medium and then fine stone.
- Always raise a light burr on the first pass with the new grit, then remove it.
- Deburr
- Finish with very light edge-leading strokes. One per side, 3–5 times.
- You can add edge trailing strokes to clean the wire, but do not round the edge.
Practice how to sharpen a kitchen knife with a stone this way and you will get a repeatable, razor edge.
:max_bytes(150000):strip_icc()/__opt__aboutcom__coeus__resources__content_migration__serious_eats__seriouseats.com__images__20100423-sharpening20-2004-aba6e6fa129844a7a106fa006eb98c3d.jpg)
How to Read the Burr and Test Sharpness
A strong result in how to sharpen a kitchen knife with a stone comes from clean deburring.
Burr checks:
- Tactile. Feel for a lip edge to opposite side. It should run heel to tip.
- Visual. Shine a light on the edge. A sharp apex reflects almost no glare.
- Sound. A crisp whisper on the stone beats a scratchy scrape.
Sharpness tests:
- Paper slice. Hold copy paper. The blade should bite and glide with no tear.
- Tomato skin. The blade should pop the skin with a gentle touch.
- Fingernail. The edge should grab lightly and not skate.
- Arm hair. It should shave with no push. Use care and clean after.
If tests fail, go back one grit and reset the burr. Then refine again.

Honing, Polishing, and Stropping
Honing is small. Sharpening is big. After you learn how to sharpen a kitchen knife with a stone, you keep it keen with light upkeep.
- Micro-bevel. At the end, raise the spine a hair. Give 1–2 very light strokes per side. This boosts edge life.
- Fine polish. Use 3000–8000 grit to smooth the scratch pattern. It helps push cuts.
- Strop. Use leather with a tiny bit of compound. Pull the edge away from the spine, 5–10 passes per side. Newsprint on glass also works.
Do not over-polish soft steel. A toothy 1000–3000 finish often cuts food best.
Common Mistakes to Avoid
These errors slow progress when learning how to sharpen a kitchen knife with a stone.
- Wobbling the angle. This rounds the edge. Lock your wrist and use light pressure.
- Skipping grits. You carry deep scratches forward. Step through in order.
- No full burr. If you do not raise a burr along the whole edge, you are not sharp yet.
- Too much pressure. Heavy hands gouge stones and create big burrs that fold.
- Dry stone. A dry face loads up and scratches the blade.
- Dull with polish. High grit alone cannot fix a blunt edge. Start coarse.
If the edge gets worse, stop. Flatten the stone. Reset angle. Use fewer, calmer strokes.
:max_bytes(150000):strip_icc()/__opt__aboutcom__coeus__resources__content_migration__serious_eats__seriouseats.com__2010__04__20200220-knife-sharpening-whetstone-vicky-wasik-5c825782502c4a429c08d0039d1df051.jpg)
Care and Maintenance for Stones and Knives
Your system for how to sharpen a kitchen knife with a stone is only as good as your upkeep.
Stone care:
- Keep stones flat. Lap them when pencil lines stay after a few passes.
- Rinse and dry. Do not store water stones soaking unless rated to do so.
- Store flat. Avoid heat and sun.
Knife care:
- Use a soft board. Wood or soft plastic keeps edges alive.
- Wipe and dry after use. Water and acid dull and stain.
- Hone with a ceramic rod between sharpenings. Light, quick strokes only.
- Resharpen when needed. A home cook may touch up monthly. A pro, weekly.
Good habits cut your sharpening time by half.
Troubleshooting and Special Cases
As you refine how to sharpen a kitchen knife with a stone, adjust for steel and shape.
- Chips. Start at 220–400 grit. Draw a mild convex at the edge to add strength.
- Warped blades. Use short sections and light pressure. Follow the true contact.
- Thick spines. Add a micro-bevel to avoid a stubborn burr.
- Very hard steels. Use quality stones that cut fast. Stick to lower pressure.
- Soft budget knives. Stop at 1000–2000 for bite. High polish will fold fast.
- Single-bevel knives. Work the wide bevel flat on the stone. Keep the back dead flat.
- Serrated knives. Do not use flat stones. Use a rod that matches the gullets.
Track what works. Small notes make your next session faster.
Real-World Tips From My Bench
I learned how to sharpen a kitchen knife with a stone in a busy prep room. Time was tight. Edges had to be safe and clean.
- Angle memory. I trained my wrist by tapping a coin stack under the spine before each set.
- Marker trick. I still color the bevel on new knives. It shows truth fast.
- Pressure ladder. I start with two fingers on the bevel. I lift one finger at mid grit. I use only the weight of the blade to finish.
- Tip work. I raise the handle a touch at the last inch. That keeps the curve keen.
- Food-first finish. I stop at 1000 for tomatoes and crusty bread. I go to 3000–6000 for raw fish and fine herbs.
These small habits helped many students master how to sharpen a kitchen knife with a stone in a weekend.
Frequently Asked Questions of how to sharpen a kitchen knife with a stone
What angle should I use for kitchen knives?
Most chef’s knives work best at 15–20 degrees per side. Thinner Japanese blades lean closer to 12–15, while heavy Western blades prefer 18–20.
How often should I sharpen versus hone?
Hone lightly every few uses to realign the edge. Sharpen on stones when honing no longer restores bite, often monthly for home cooks and weekly for pros.
Do I need to soak my whetstone?
Many water stones need a 10–15 minute soak. Splash-and-go stones only need a wet surface, and oil stones use a light oil instead of water.
Which grits do I actually need?
A practical set is 400–600 for repair, 800–1200 for sharpening, and 3000–8000 for polish. Start coarse enough to raise a burr fast, then refine.
How do I know my burr is gone?
Use very light alternating strokes and test on paper. If the edge no longer snags or sheds a wire, the burr is removed.
Can I ruin my knife on a stone?
Yes, with too much pressure, a wild angle, or a dirty, unflat stone. Keep strokes light, the angle steady, and flatten stones often.
Will a polished edge cut better than a toothy edge?
It depends on the task. Polished edges excel at push cuts; toothy edges from 1000–2000 grit bite into skins and crusts better.
Conclusion
You now know how to sharpen a kitchen knife with a stone from setup to finish. Set a steady angle, raise a clean burr, refine with lighter strokes, and test. Keep stones flat and edges clean, and your knives will reward you every day.
Pick one knife and one stone today. Follow the steps, take notes, and build the habit. If this guide helped, share it, subscribe for more hands-on kitchen skills, or leave a comment with your results.