Clean tools with soap, then disinfect using 70–90% alcohol, bleach solution, or boiling.
I love a neat, clean, and healthy home. I also care about germ-free personal grooming tools. Nail tools can get germs after use. That is why sterilizing these tools is very important for everyone. Today I will write on how to sterilize nail tools at home safely and reliably. This writing will show you step-by-step methods, what works for each tool type, and common pitfalls to avoid.

Why sterilize nail tools at home?
Sterilizing nail tools at home stops germs, fungi, and bloodborne pathogens. Clean tools lower the chance of infections and nail problems. Regular sterilization protects you and anyone you treat. Learning how to sterilize nail tools at home keeps your routine safe and professional.
Which nail tools need sterilizing?
Not every tool needs the same level of care. Know which tools to focus on:
- Metal clippers, cuticle nippers, and pushers — high risk, need disinfection.
- Nail files and buffers — porous types can harbor microbes and often need replacing.
- Glass implements and stainless steel tools — can be cleaned and disinfected.
- Electric drill bits — require cleaning and specific sanitizing steps.
Follow a routine for how to sterilize nail tools at home based on tool type.

Supplies you’ll need
Gather a few reliable supplies before you start:
- Mild dish soap and warm water for cleaning.
- 70–90% isopropyl alcohol for disinfecting metal and nonporous tools.
- Household bleach (5–6% sodium hypochlorite) to make 1:10 disinfecting solution.
- A clean container for soaking tools.
- Soft brush, cotton swabs, and clean towels.
- Heat source: pot for boiling or a steam pressure cooker if available.
Having the right supplies makes how to sterilize nail tools at home predictable and safe.
Step-by-step methods for how to sterilize nail tools at home
Start with cleaning. Remove visible dirt before you disinfect. Cleaning first improves disinfectant action. Below are detailed methods you can use at home.

1. Basic cleaning (first step for all methods)
Follow these simple steps first:
- Rinse tools under warm running water.
- Use dish soap and a soft brush to remove debris and skin.
- Rinse again and dry with a clean towel.
Cleaning prepares tools for effective disinfection when you learn how to sterilize nail tools at home.
2. Alcohol soak (70–90% isopropyl)
Alcohol works well for nonporous metal and glass tools.
- Place cleaned tools in a sealed container.
- Cover with 70–90% isopropyl alcohol.
- Soak at least 10 minutes for disinfection.
- Remove and air-dry on a clean surface.
Alcohol is fast and accessible for how to sterilize nail tools at home.
3. Bleach solution (household disinfectant)
Bleach is a strong disinfectant for metal and nonporous items.
- Mix 1 part household bleach to 10 parts water.
- Fully submerge cleaned tools for 10 minutes.
- Rinse thoroughly with water to remove residue.
- Dry completely before storing.
Use bleach sparingly and with gloves, and only for tools that tolerate it.
4. Boiling water (heat method)
Boiling can be effective for many metal and glass tools.
- Place cleaned tools in a pot with enough water to cover them.
- Bring to a rolling boil and continue for 10 minutes.
- Remove with tongs and dry on a clean towel.
Boiling is a simple answer for how to sterilize nail tools at home without chemicals.
5. Steam pressure cooker (DIY autoclave)
A pressure cooker gives higher temperatures and steam pressure.
- Use a pressure cooker with a rack to avoid direct contact with the pot.
- Follow the cooker’s instructions for sterilizing metal items.
- Typical cycle: 15–20 minutes under pressure.
This method approaches professional sterilization and is a top option for metal tools.
6. UV sanitizers and electric devices
Home UV cabinets and small sterilizers are convenient.
- Clean tools first, then place in the UV chamber.
- Follow manufacturer timing—usually 5–15 minutes.
UV helps reduce microbes but is less reliable on dirty or shaded surfaces.
Use UV as a supplement to cleaning and disinfecting methods.
7. What not to do
Avoid putting porous wooden sticks or some files through harsh chemical soaks. Do not use low-concentration alcohol for long-term sterilization. Never assume a quick rinse is enough when blood or open skin contact has occurred. These notes help you safely learn how to sterilize nail tools at home.
Cleaning and sterilizing different material types
Different materials need different care. Match the method to the tool.
- Stainless steel and glass
- Safe to boil, alcohol soak, bleach soak, or pressure-cook.
- These are ideal for thorough sterilization.
- Porous tools (sanding files, buffers, wooden sticks)
- Replace disposable items after one use when possible.
- If reusable, use single-use barriers or discard.
- Electric tool bits and handpieces
- Clean with brushes and alcohol wipes.
- Follow the device manual for deep cleaning.
- Avoid soaking electrical parts in liquids.
- Rubber, plastic, and silicone
- Use alcohol or diluted bleach if manufacturer allows.
- Heat can deform many plastics, so avoid boiling unless rated safe.
Knowing material limits helps you safely perform how to sterilize nail tools at home.

Storage, maintenance, and frequency
Good storage keeps sterilized tools clean.
- Store tools in a dry, closed container or pouch.
- Label sanitized kits with the date.
- Sterilize tools after every client or every personal use that contacts skin or nails.
- Replace disposable files and buffers frequently.
Routine and frequency are key when you manage how to sterilize nail tools at home.
:max_bytes(150000):strip_icc()/cleaningnailtools-edc94f3e92514903b9c924fa69bf7b4a.png)
Source: byrdie.com
Common mistakes and safety precautions
A few common errors reduce effectiveness. Watch for these:
- Skipping the cleaning step before disinfecting.
- Using lower-concentration alcohol (under 60%) that won’t disinfect.
- Not rinsing bleach residue, which can irritate skin.
- Soaking electric parts or tools with glued components.
- Relying on UV alone when tools are dirty.
Use gloves, ventilate when using bleach, and follow timing guidelines. These precautions make how to sterilize nail tools at home safe and effective.

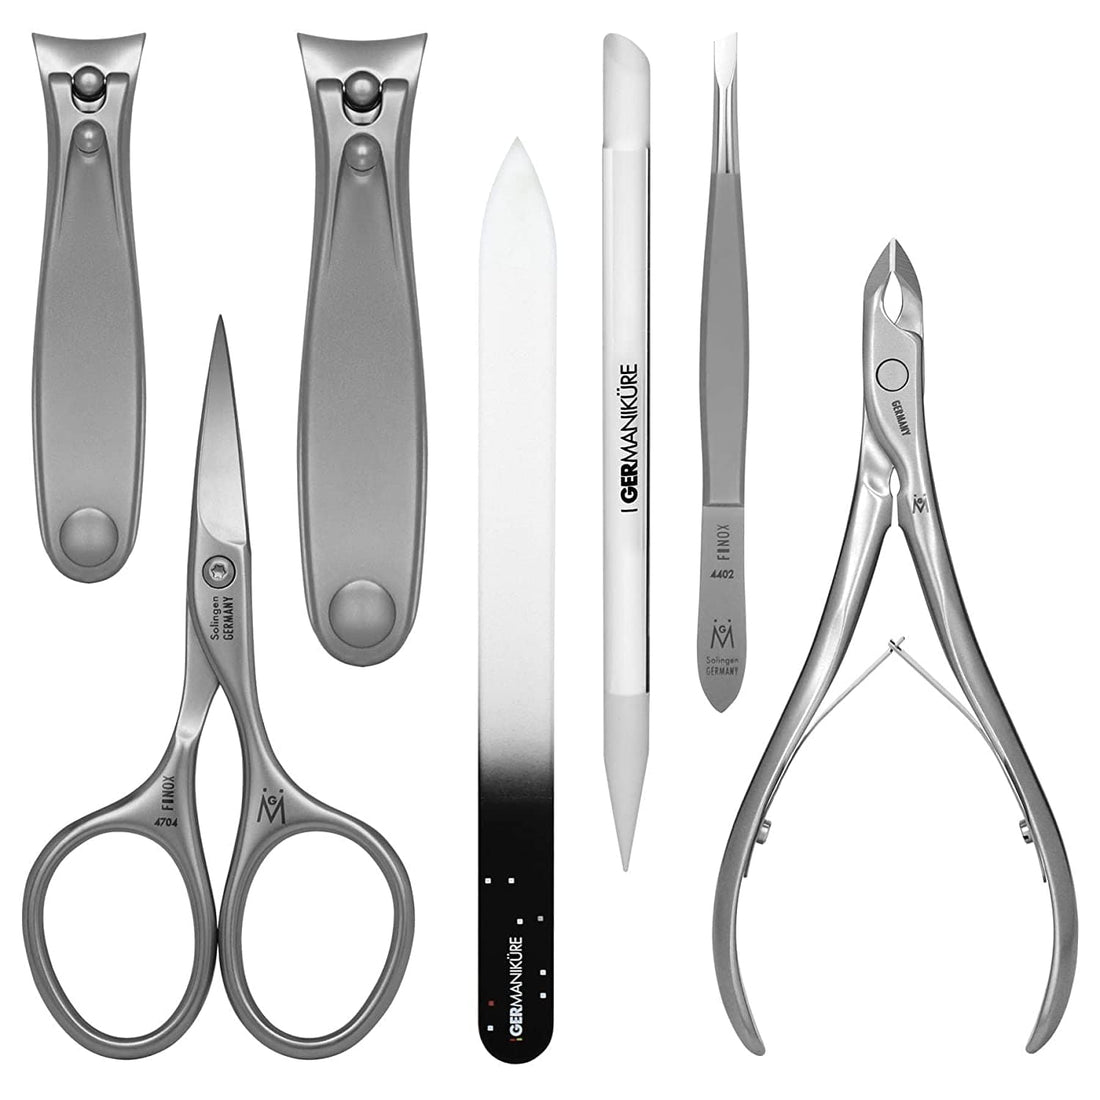
Source: amazon.com
Personal experience and pro tips
I worked with salon owners and trained new techs on tool care. Early on, I saw infections from skipped cleaning steps. A simple routine fixed most problems: clean, disinfect, and store. My go-to is a two-step at home routine: soap cleaning then alcohol soak for 10 minutes. If a tool contacts blood, use bleach or pressure-steam for extra safety. Small habits prevent big issues.
Frequently Asked Questions of how to sterilize nail tools at home
How often should I sterilize my nail tools at home?
Sterilize after every session that involves skin contact or potential bleeding. For personal routine use, sanitize weekly if the tools touch only healthy nails.
Can I use rubbing alcohol from the drugstore?
Yes. Use 70–90% isopropyl alcohol for effective disinfection. Lower concentrations are less effective.
Is boiling the same as sterilizing?
Boiling disinfects many microbes but may not reach sterilization levels for all pathogens. Pressure steam is closer to true sterilization.
Can I disinfect wooden sticks and buffers?
Porous items are hard to sterilize fully, so replace them or keep them single-use. Use disposable tools when possible to avoid risks.
Are UV sanitizers enough on their own?
UV helps, but only after thorough cleaning. UV light misses shaded spots. Combine cleaning with chemical or heat methods for best results.
Conclusion
Sterilizing nail tools at home is simple when you follow clear steps: clean, choose the right disinfect method, and store tools properly. Start with soap and water, then use alcohol, bleach, boiling, or steam based on tool material. Small habits prevent infection and keep your work professional. Try a routine this week: clean, disinfect, and store one kit, then repeat after each use. If you found this helpful, leave a comment or subscribe for more practical guides on nail care and safety.