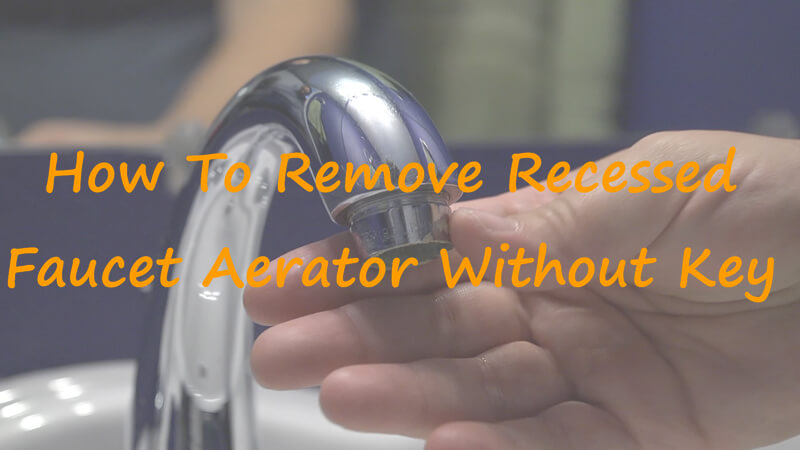
Grip the aerator by hand, use a rubber band or cloth for traction, and twist counterclockwise.
I love to cook. I always keep my kitchen neat and clean. I make sure every tool in my kitchen is clean, especially the kitchen faucet. In this writing, I will show exactly How To Remove Aerator From Kitchen Faucet Without Tool. I will explain clear, step-by-step methods, safe preparation tips, common fixes for stuck parts, and simple maintenance.
Why remove the aerator and when to avoid tools
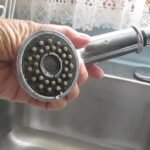
An aerator is the small screen at the faucet tip that mixes air with water. Removing it helps clean mineral build-up, restore flow, and inspect for debris. Knowing how to remove aerator from kitchen faucet without tool saves time and avoids scratches or damage from pliers.
Avoid force if the aerator looks corroded or painted over. In those cases, a gentle soaking or a professional may be safer. Read the safe methods below to keep your finish and threads intact.

Safety and preparation before you start
Turn off the faucet and lift any sink items away. Place a towel or small container under the spout to catch drops and parts. Wear rubber gloves for extra grip and to protect your hands.
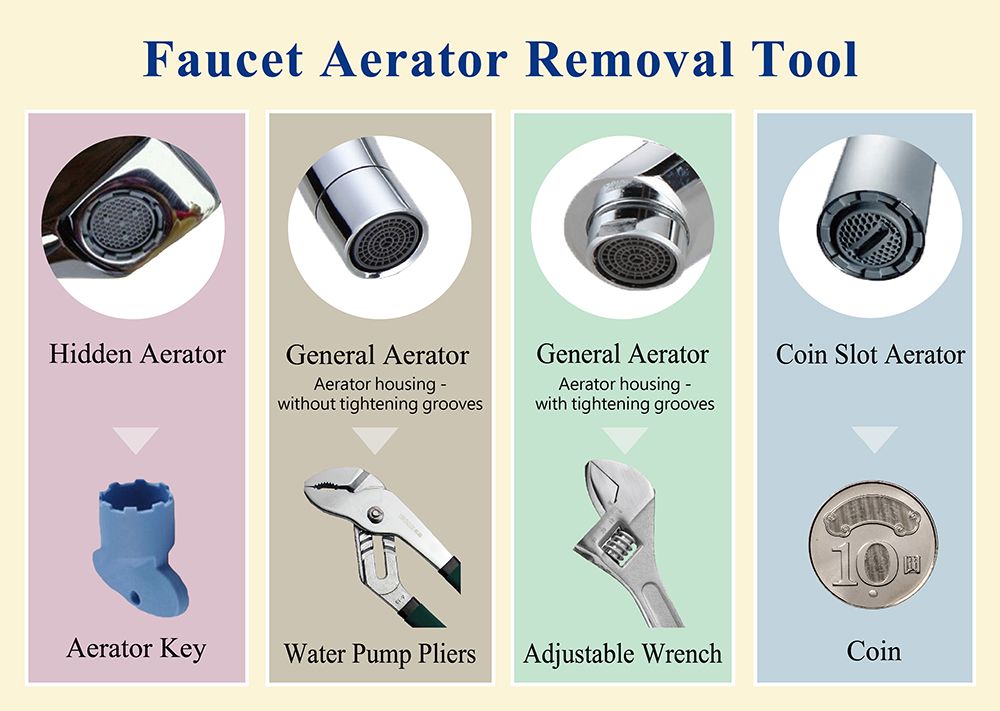
Check the aerator type. Some twist off; others have a collet or snap-in ring. Identifying the type helps when learning how to remove aerator from kitchen faucet without tool.
Step-by-step methods to remove an aerator without a tool
Below are simple methods that work for most faucets. Try the easiest first and move to the next if it is stuck.
Method 1 — Hand twist
- Wrap a towel around the spout for a dry grip.
- Grasp the aerator housing with your thumb and fingers.
- Turn counterclockwise with steady pressure until it loosens and unscrews.
This is the cleanest way to learn how to remove aerator from kitchen faucet without tool.
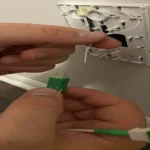
Method 2 — Rubber band or latex glove for traction
- Place a wide rubber band or fold a latex glove over the aerator.
- Press firmly and twist counterclockwise.
- Repeat with a new band if needed.
This increases friction and prevents slipping while removing the aerator without a tool.
Method 3 — Cloth and finger leverage
- Use a rough cloth or microfiber folded thick.
- Pinch the aerator through the cloth and twist.
- Apply short bursts of force rather than long, continuous pressure.
This helps when the aerator is slightly stuck from mineral deposits.
Method 4 — String or shoelace wrap (for stubborn grip)
- Wrap a strong string twice around the aerator.
- Pull ends in opposite directions while twisting counterclockwise.
- Keep pressure close to the housing to avoid sliding.
This uses leverage without metal tools.
Method 5 — Use water pressure to loosen snap-in aerators
- Turn water on briefly with low pressure while holding the aerator body.
- Sometimes vibration shifts snapped-in retainers enough to release.
- Be careful not to flood the sink area.
Use this only if twisting doesn’t free the part.
If the aerator still refuses to budge, stop and try soaking the aerator for 15–30 minutes in white vinegar to dissolve scale. Then try the rubber band or cloth method again. These steps keep the faucet safe while showing how to remove aerator from kitchen faucet without tool.

Common problems and how to fix them
Stuck aerator from mineral build-up
- Soak a cloth in vinegar and wrap the aerator for 20–30 minutes.
- Then use a rubber band and twist. If this fails, repeat soaking.
Rounded or damaged housing
- Avoid metal tools that can round edges.
- Use a thick rubber sheet or glove to regain grip.
- If damage is severe, a replacement aerator housing may be needed.
Cross-threaded or painted-over aerator
- Apply heat only if finish allows: a warm cloth for a minute can help expand metal.
- If paint seals the thread, score gently with a fingernail or plastic pick and retest.
These tips help you safely learn how to remove aerator from kitchen faucet without tool with minimal risk to finish.
Cleaning, inspection, and maintenance after removal
After removal, rinse the aerator parts under running water. Inspect the screen, flow restrictor, and housing for scale or debris. Soak removable parts in vinegar for 15–30 minutes to dissolve calcium.
Reassemble in reverse order. Hand-tighten the aerator until snug; do not over-tighten. Run water and check for leaks. Regular cleaning every three months keeps flow steady and reduces the need for forceful removal. Practicing routine care makes future how to remove aerator from kitchen faucet without tool attempts easier and faster.
Personal experience, tips, and mistakes to avoid
I once tried pliers on a chrome aerator and left gouge marks. I learned quick to use rubber for grip first. A wide rubber band or a folded dish glove solved 9 out of 10 stuck aerators for me.
Tips I use on jobs
- Start with a dry cloth and steady hand.
- Twist slowly to feel for thread engagement.
- Never use excessive force; you can ruin the finish or threads.
These small habits make learning how to remove aerator from kitchen faucet without tool reliable and safe.
Frequently Asked Questions of how to remove aerator from kitchen faucet without tool
Will all aerators twist off by hand?
Most standard aerators unscrew by hand. Some models snap in; these require a firm pull or slight pry with a fingernail. Try hand twisting first to avoid damage.
What if the aerator won’t turn at all?
Soak the aerator with vinegar to loosen mineral deposits, then retry with a rubber band or glove for extra grip. If it still won’t move, consider a gentle professional approach.
Can I damage the faucet by removing the aerator without tools?
You can if you use metal tools or excessive force. Hand methods protect the finish and threads, making how to remove aerator from kitchen faucet without tool the preferred route.
How do I clean an aerator once removed?
Disassemble the aerator and rinse parts. Soak screens in vinegar for 15–30 minutes, scrub with a soft brush, then reassemble. This restores flow and prevents clogging.
Is it better to replace the aerator or clean it?
Cleaning restores most aerators. Replace only when the screen is torn, threads are stripped, or flow restrictor is permanently damaged. Routine cleaning reduces need for replacement.
Conclusion
Removing an aerator by hand is often quick, safe, and effective. Use simple traction methods like rubber bands, cloths, or wrapped string, and always twist counterclockwise. When an aerator resists, soak in vinegar and try again rather than forcing metal tools.
Take action today: try the hand-twist and rubber-band methods and schedule a quick cleaning every few months. If you found this guide helpful, leave a comment or subscribe for more practical home plumbing tips.