Disinfect nail tools at home by cleaning, soaking in EPA-approved disinfectant, rinsing, and air-drying.
I have worked with salons and DIY nail care for years, and I will walk you through exactly how to disinfect nail tools at home safely and effectively. This guide covers which tools need attention, step-by-step methods, disinfectant choices, sterilization versus disinfection, storage, mistakes to avoid, and practical tips from my experience so you can protect yourself and others.

Why disinfect nail tools at home?
Nail tools touch skin, cuticles, and nails. Germs, fungi, and bloodborne pathogens can live on metal and plastic. Regularly learning how to disinfect nail tools at home lowers the risk of infections and keeps manicures hygienic.
Disinfecting at home is not the same as salon sterilization, but it is an effective, practical way to reduce microbes when done correctly and consistently. Knowing the right products and steps makes the process fast and reliable.
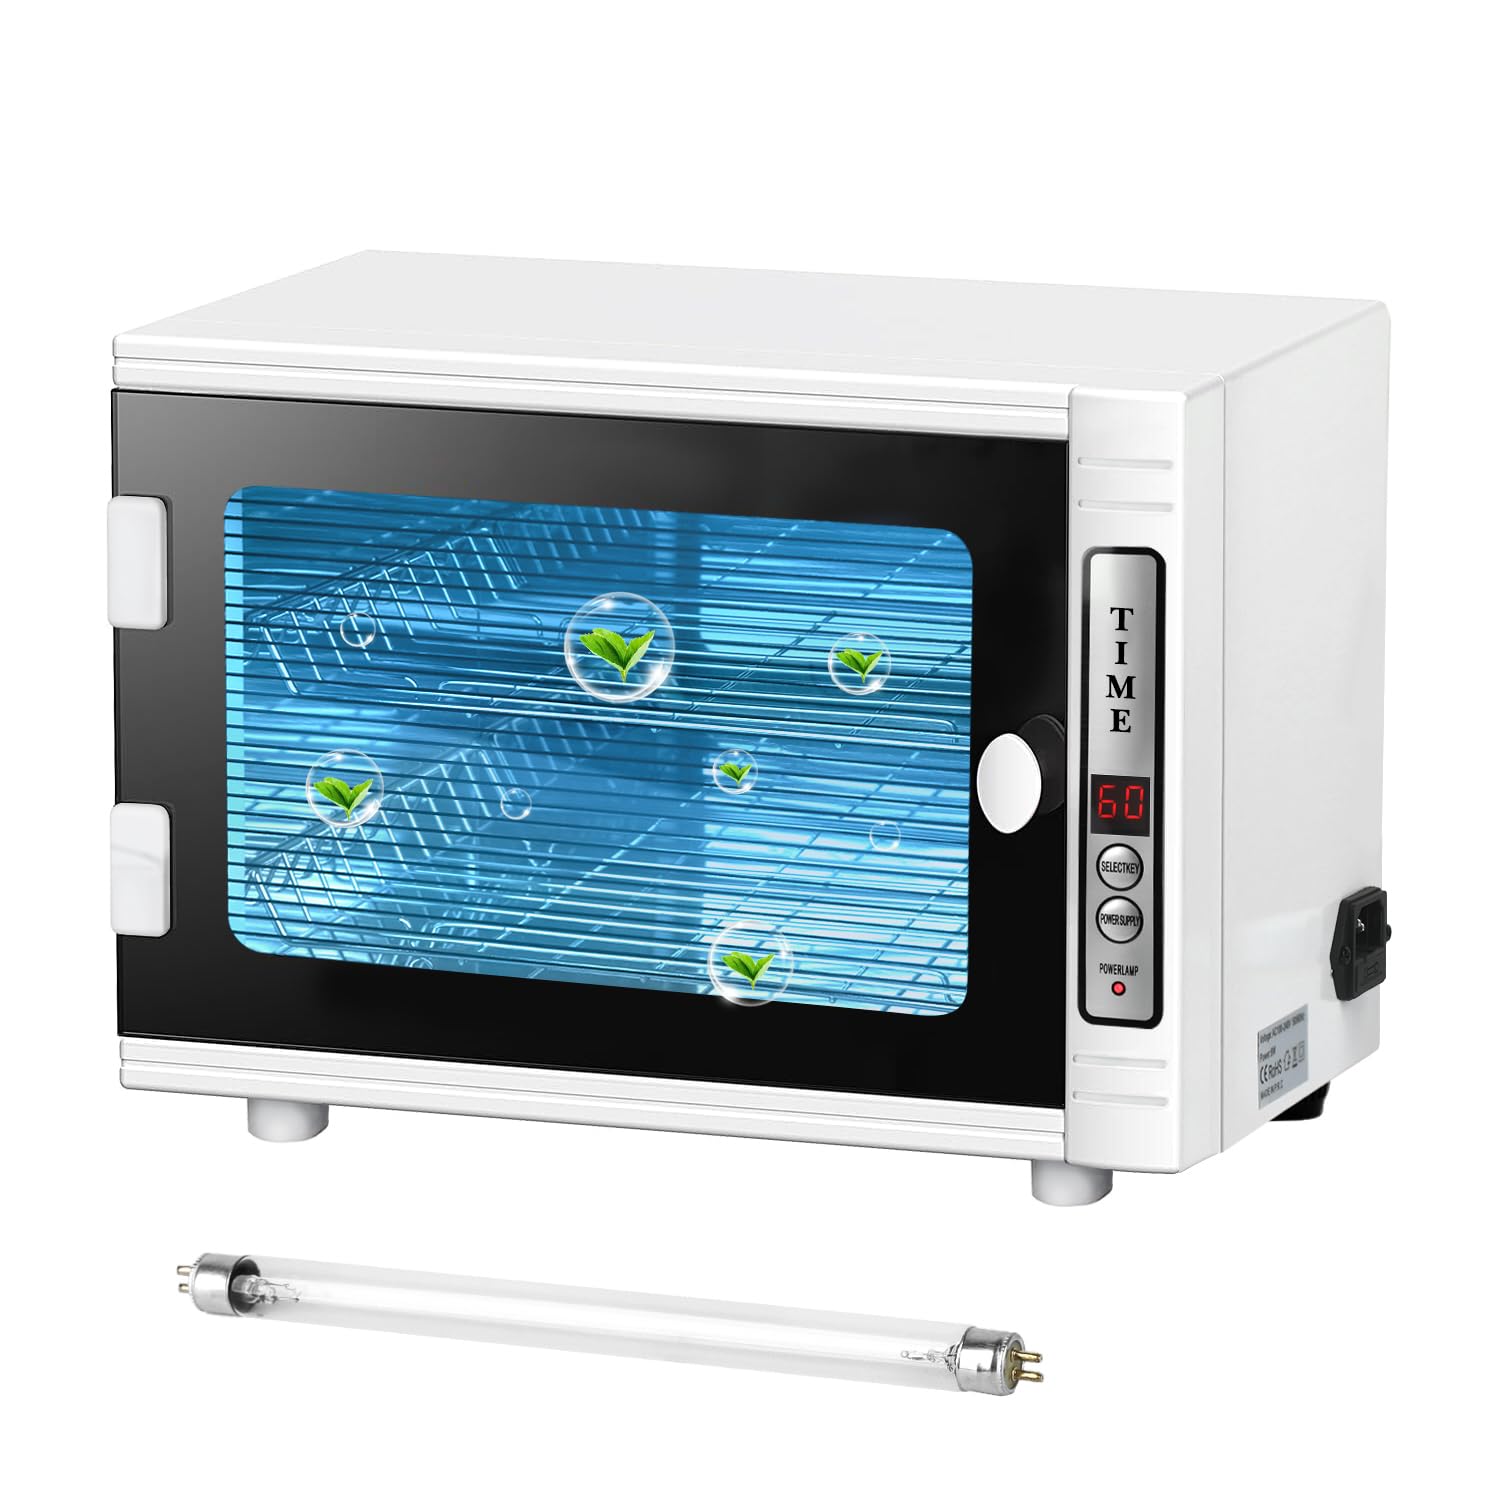
Which nail tools need disinfecting?
Most tools used on nails or cuticles need cleaning and disinfection. Examples include:
- Nail clippers and scissors
- Cuticle nippers and pushers
- Metal files and buffers
- Tweezers and orangewood sticks (if reused)
- Electric file bits (with removable metal parts)
Tools that only touch your nails and are not exposed to skin breaks still benefit from regular cleaning. For single-use items like wooden sticks, consider discarding after use to avoid contamination. Storing disinfected metal tools in a clean case keeps them safe between uses.
Step-by-step guide: how to disinfect nail tools at home
Follow these clear steps whenever you disinfect at home. Repeat steps for each tool and work in a well-ventilated area.
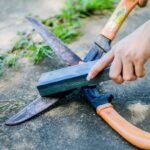
- Remove debris
- Rinse tools under warm running water. Use a small brush to remove visible nail dust, polish, or skin.
- Wash with soap
- Use dish soap or hand soap and scrub for 20 seconds. This reduces organic matter that can block disinfectants.
- Rinse and dry
- Rinse thoroughly with clean water and dry with a lint-free towel. Disinfectants work best on clean, dry surfaces.
- Apply disinfectant
- Submerge metal tools in an EPA-registered hospital-grade disinfectant or a 70% isopropyl alcohol solution for the recommended contact time. For isopropyl alcohol, let tools soak or stay wet for at least 10 minutes.
- Rinse (if required) and air-dry
- Some disinfectants require rinsing after contact. Read product instructions. Place tools on a clean towel to air-dry.
- Store safely
- Put tools in a sealed, clean container or pouch to prevent recontamination.
Repeat this cycle after each client or after any use that contacts broken skin. If you’re asking how to disinfect nail tools at home for shared household use, perform the same process after each person.
Disinfectant options and how to use them
You have several practical choices at home. Each has pros and cons.
- 70% Isopropyl alcohol
- Pros: Readily available, fast-acting, safe on most metals.
- Use: Submerge for at least 10 minutes or wipe and allow to air-dry fully.
- EPA-registered hospital-grade disinfectants
- Pros: Formulated to kill bacteria, viruses, and fungi; used in salons.
- Use: Follow the label for dilution and contact time. Some need rinsing.
- Bleach solution (sodium hypochlorite)
- Pros: Strong antimicrobial action when mixed correctly.
- Use: Mix 1 part household bleach to 9 parts water for hard surfaces. Do not soak metal tools long-term; rinse and dry promptly to avoid corrosion.
- Barbicide and quaternary ammonium compounds
- Pros: Common in professional settings.
- Use: Follow label directions precisely. Use only on materials the product supports.
Never mix disinfectants. Mixing bleach and ammonia or acids can create toxic gases. Always wear gloves and work in a ventilated space. For guidance on how to disinfect nail tools at home, choosing a product that lists efficacy against bacteria, viruses, and fungi is best.

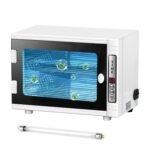
Sterilization vs disinfection: what you need to know
Disinfection reduces many pathogens to safe levels. Sterilization kills all microbial life, including spores, and requires specialized equipment such as autoclaves or dry-heat ovens.
For home nail care, disinfection is usually sufficient unless you work on clients or perform procedures that break the skin. If you do advanced treatments or treat multiple clients, consider professional sterilization options available at clinics or invest in an autoclave if legally required in your area.
:max_bytes(150000):strip_icc()/cleaningnailtools-edc94f3e92514903b9c924fa69bf7b4a.png)
How often to disinfect and how to store tools
Frequency depends on use:
- After every use on any person, disinfect nail tools.
- For solo, personal tools, disinfect weekly or after any illness or nail injury.
Storage tips:
- Use a clean, dry container with a lid.
- Store tools away from humidity and sunlight.
- Replace foam or fabric pouches periodically.
- Label storage to separate “clean” and “used” tools if multiple people use them.
Consistent routine extends tool life and maintains hygiene. When considering how to disinfect nail tools at home, make storage and frequency part of the plan.

Common mistakes and safety tips
Avoid these frequent errors:
- Skipping the cleaning step: Disinfectants are less effective on dirty tools.
- Using weak solutions or wrong contact times: Read product labels.
- Soaking nonmetal tools too long: Wooden and porous items can harbor microbes; prefer single-use.
- Mixing chemicals: This creates dangerous fumes.
- Not drying tools fully: Moisture fosters corrosion and regrowth of microbes.
Safety tips:
- Wear gloves and eye protection when handling strong disinfectants.
- Ventilate the area when using bleach or quaternary ammonium products.
- Replace tools that are rusted, damaged, or pitted; they trap bacteria.
Personal experience and practical tips
From my time working in salons and teaching home nail care, a few habits made the biggest difference:
- Keep a small “cleaning station” with a brush, soap, alcohol, and labeled containers. This saves time and prevents skips.
- Use a tray to separate dirty and clean tools during sessions.
- For quick touch-ups, alcohol wipes are handy, but follow with a full soak at the end of the day.
- I once learned the hard way that old, pitted clippers can hide fungus. I replaced mine and avoided recurring infections.
Small habits reduce risk. When you practice how to disinfect nail tools at home regularly, you build a routine that protects you and anyone you care for.
Frequently Asked Questions of how to disinfect nail tools at home
How long should I soak tools in isopropyl alcohol?
Soak tools for at least 10 minutes at 70% concentration. Wipe or air-dry afterwards to ensure full disinfection.
Can I use household bleach to disinfect nail tools at home?
Yes, you can use a diluted bleach solution (1:9 ratio) for hard surfaces, but avoid long soaking of metal tools to prevent rust; rinse and dry after a brief contact time.
Are ultrasonic cleaners enough to disinfect nail tools at home?
Ultrasonic cleaners remove debris but do not disinfect by themselves. Use them before chemical disinfection for better results.
Do wooden or pumice tools need disinfection?
Porous items like wood or pumice are hard to disinfect thoroughly; it’s safer to use single-use items or replace them regularly.
How often should I replace metal nail tools?
Replace tools if they show rust, pitting, or damage. With good care, quality stainless-steel tools last years; inspect them regularly.
Can I boil my nail tools to sterilize them at home?
Boiling reduces microbes but does not achieve true sterilization. Boiling also risks damaging some tools. Use only for metal tools and follow with drying and disinfectant if necessary.
Conclusion
Disinfecting nail tools at home protects your skin, nails, and overall health. Clean debris first, use the right disinfectant with correct contact time, dry tools fully, and store them in a clean container. Build a simple routine and replace damaged items promptly to maintain safety and performance. Start today by setting up a small cleaning station, and leave a comment or subscribe to learn more about safe nail care practices.